Turn Your Raspberry Pi Into a Music Player Server
A few months ago I published My Quest to Build the Ultimate Music Player, where I described some of the trials and tribulations that led to Groove Basin, an open-source music player server that I've been building off and on for almost 4 years.
It ships with a web-based client, which looks like this:
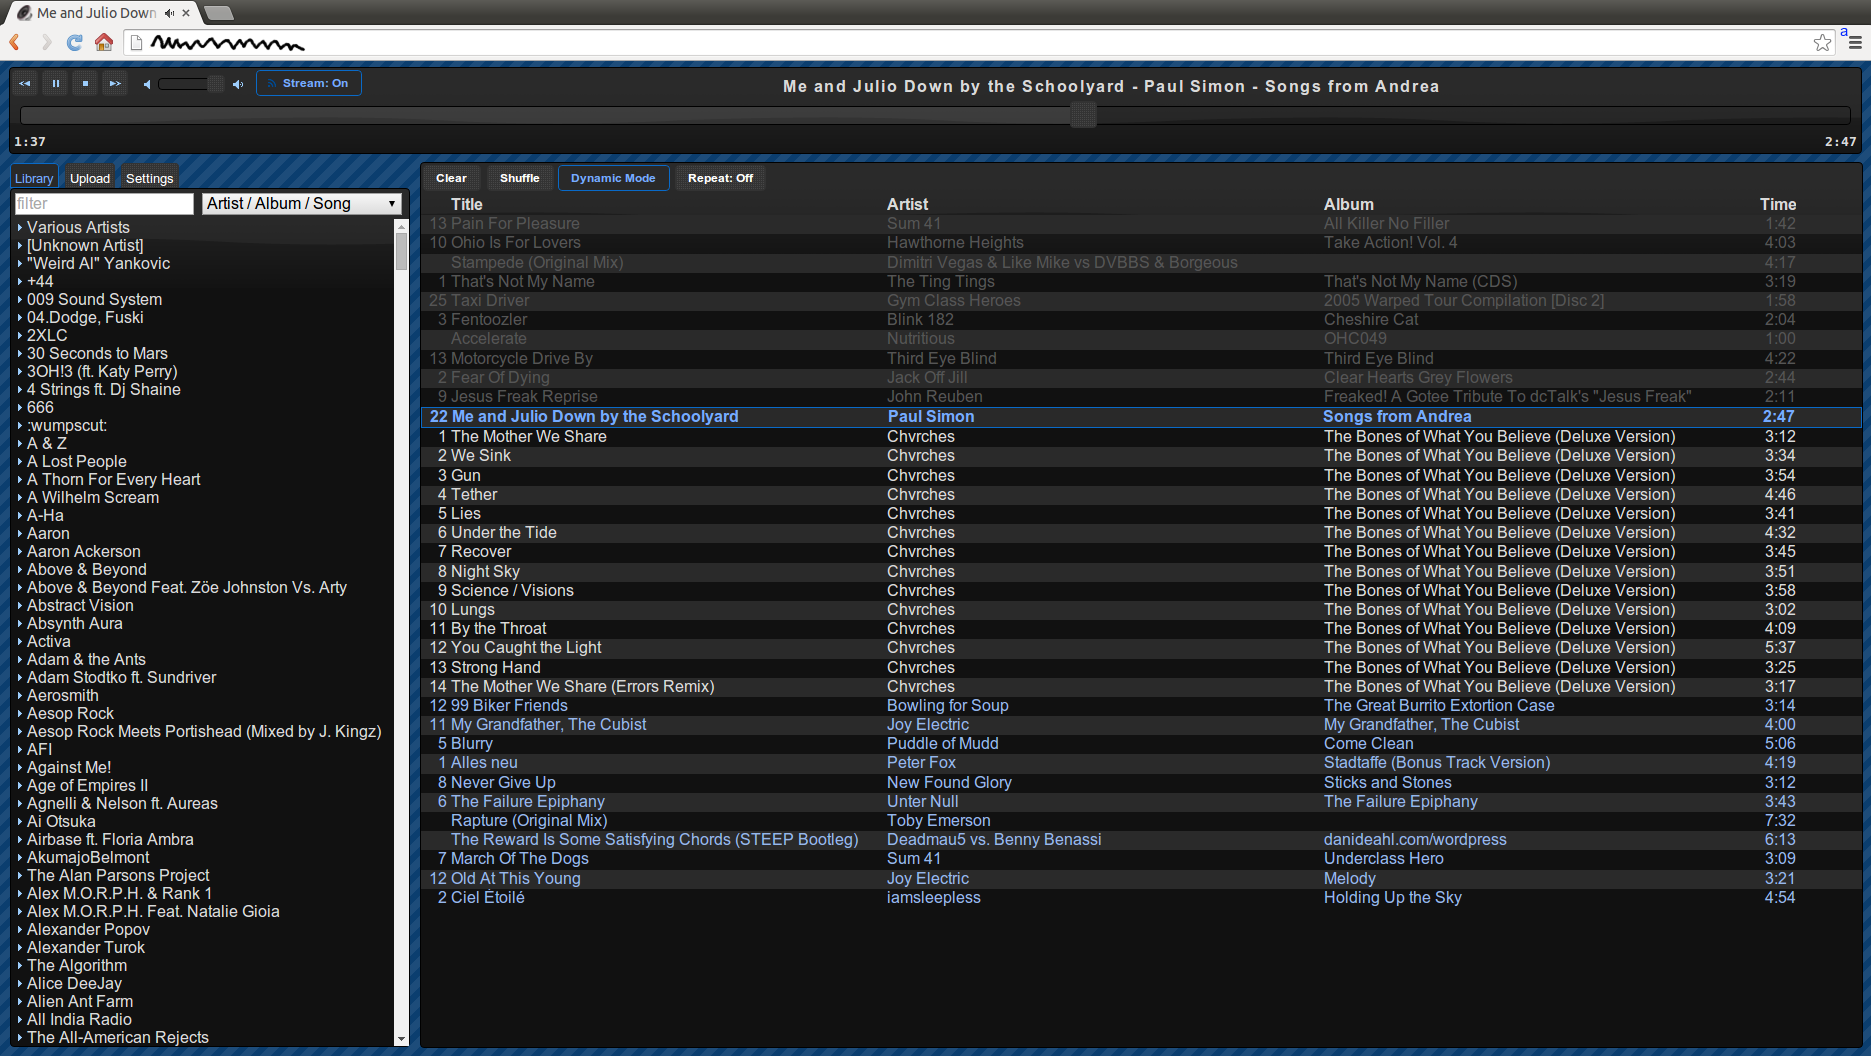
You can also tinker with the live demo version.
If you install this on a Raspberry Pi, you can attach speakers to it and use it as a music player which you can control remotely, and you can remotely listen to your music by pressing the "stream" button in the browser.
Before I get into it, however, I would like to point out that if you're deciding whether or not to get a Raspberry Pi, the answer is no. The Raspberry Pi is overhyped - this is why I'm writing this guide - and there are much better alternatives. I'll mention one here, the Beagle Bone Black. Update: another good one: Hummingboard
Why you should get this instead:
- Faster CPU and Memory
- 1GHz processor instead of 700MHz
- DDR3 instead of SDRAM
-
It can run Debian or Ubuntu armhf directly instead of having to run something like Raspian. It's silly that Raspbian exists when there is already an armhf port of Debian. If you just install normal armhf Ubuntu on the Beagle Bone Black then this entire guide is unnecessary and you can just do
# apt-add-repository ppa:andrewrk/libgroove
# apt-get update
# apt-get install libgroove-dev
And presto, you're done.
In fact, libgroove is in Debian Testing and Ubuntu Utopic Unicorn, so in a year or so when these distributions are updated, you won't even need to add the extra PPA.
- Debian officially recommends against the Raspberry Pi, notably because there is non-free software required to run it. Debian specifically endorses the Beagle Bone Black.
If you are like me, and you unfortunately purchased a Raspberry Pi before you became educated about better options, then you'll have to jump through some hoops to get this working. This article will hold your hand and guide you through all the hoops so that you don't have to waste time figuring it out yourself.
I'll start this guide at the point where you have a fresh Raspberry Pi and don't even have an operating system yet. If you're past this point then skip ahead.
Table of Contents
Install Raspbian and get SSH Access
Head over to the Raspberry Pi downloads page and grab the Raspbian Debian Wheezy torrent (or download directly if you're not l33t).
Unzip to get the .img file out and flash it to the biggest SD card you have. You'll want lots of room for music!
I'm on Ubuntu - all I had to do was right-click on the .img file in nautilus, Open With, Disk Image Writer:

I'm sure there are plenty of ways to get the job done, this was easiest for me.
Once that's done, find a keyboard, monitor, and HDMI cable so that you can see what you're doing. Our goal is to get SSH access going as soon as possible so that we can work on the Pi without plugging things into it other than the power and network cables.
Once the Pi boots up for the first time it gives you a menu of things you can do. Here's what I did:
- Expand the file system to fit the full SD card.
- Set pi user password.
- Advanced Options, enable SSH server.
Now let's set it up so that it always binds to the same IP address when it boots up. These are the settings I used, obviously you should tweak them to your network's needs:
sudo vi /etc/network/interfaces
Replace iface eth0 inet dhcp with:
auto eth0
iface eth0 inet static
    address 192.168.1.99
    netmask 255.255.255.0
    gateway 192.168.1.1
Now we can unplug the TV and keyboard, we won't be needing this junk anymore. Plug that Raspberry Pi into your network and power it on!
On your normal computer that you're used to using, you can now ssh to the Pi, something like this:
ssh pi@192.1.68.1.99
I like to put an entry in my ~/.ssh/config file like this:
host pi
hostname 192.168.1.99
user pi
It makes you type in your password, but we can fix that:
ssh-copy-id pi
Now connecting to the Pi is as simple as ssh pi.
The first thing to do here is update all the outdated packages to the latest.
$ sudo apt-get update
$ sudo apt-get dist-upgrade
Hmm, what's that I see there?
...
Unpacking replacement raspberrypi-bootloader
...
Bootloader replaced huh? Better reboot to make sure that still works.
Alright, at this point we are able to ssh into our Raspberry Pi and all the packages that come installed are fully updated.
Install Groove Basin
First let's install some packages:
$ sudo apt-get install htop vim git cmake screen
I recommend that you do this work in something like screen or tmux so that if the connection is dropped, the commands we're running will continue. Also this allows us to disconnect and go do something else while the Pi crunches numbers.
I'm going to explain how to do this one step at a time for clarity. However, note that
there are essentially 3 compilations that will take a very long time, so if you want to
start those 3 in parallel and then walk away from the computer for 8 hours or so, you
can skip around this guide and start them all in parallel. Those 3 things are the
make steps of:
- SDL2
- libav
- Node.js
libgroove, Part 1
Get the libgroove source code and create a build folder inside of the source:
$ cd
$ git clone https://github.com/andrewrk/libgroove
$ cd libgroove
$ mkdir build
$ cd build
Let's build in debug mode so that if we happen upon any errors we can get a useful stack trace.
Note, you can skip the following step - it takes a minute or two to complete, this particular command is just for your information, and I have reproduced the output below:
$ cmake .. -DCMAKE_BUILD_TYPE=Debug
Installation Summary
--------------------
* Install Directory            : /usr/local
* Build libgroove              : missing dependencies
* Build libgrooveplayer        : missing dependencies
* Build libgrooveloudness      : missing dependencies
* Build libgroovefingerprinter : yes

Bundled Dependencies
--------------------
* SDL2                         : ready to build
* libav                        : missing dependencies, see below
* libebur128                   : ready to build

System Dependencies
-------------------
* C99 Compiler                 : OK
* threads                      : OK
* SDL2                         : not found - will use bundled version
* ebur128                      : not found - will use bundled version
* chromaprint                  : not found
* libavformat                  : not found - will use bundled version
* libavcodec                   : not found - will use bundled version
* libavfilter                  : not found - will use bundled version
* libavutil                    : not found - will use bundled version
* yasm                         : not found
* bzip2                        : not found
* mp3lame                      : not found
* zlib                         : OK
It's missing these libraries:
- chromaprint
- libebur128
- SDL2
- libav
We could let libgroove install with the bundled dependencies, but it will be easier to just install those dependencies on the system first. Let's do that.
chromaprint
Luckily chromaprint is in the repository already:
$ sudo apt-get install libchromaprint-dev
libebur128
Next we compile the easy one, libebur128.
$ cd
$ git clone https://github.com/jiixyj/libebur128
$ cd libebur128
$ mkdir build
$ cd build
$ cmake .. -DCMAKE_BUILD_TYPE=Debug
Oops, looks like we're missing a dependency:
-- checking for module 'speexdsp'
--   package 'speexdsp' not found
Better install that.
$ sudo apt-get install libspeexdsp-dev
Let's try that configure line again:
$ cmake .. -DCMAKE_BUILD_TYPE=Debug
-- checking for module 'speexdsp'
--   found speexdsp, version 1.2rc1
-- speexdsp library dirs:
-- speexdsp cflags:
-- speexdsp include dirs:
-- speexdsp libraries: speexdsp
-- speexdsp ldflags:
-- status          found / disabled --
-- queue.h:        yes     using system copy of queue.h
-- speexdsp:       yes     no
-- not building tests, set ENABLE_TESTS to ON to enable
-- Configuring done
-- Generating done
-- Build files have been written to: /home/pi/libebur128/build
That's better.
Now compile and then install the code:
$ make
$ sudo make install
[ 50%] Built target ebur128
[100%] Built target ebur128_static
Install the project...
-- Install configuration: "Debug"
-- Up-to-date: /usr/local/include/ebur128.h
-- Installing: /usr/local/lib/arm-linux-gnueabihf/libebur128.so.1.0.1
-- Installing: /usr/local/lib/arm-linux-gnueabihf/libebur128.so.1
-- Installing: /usr/local/lib/arm-linux-gnueabihf/libebur128.so
-- Installing: /usr/local/lib/arm-linux-gnueabihf/libebur128.a
Argh, it put the library files in /usr/local/lib/arm-linux-gnueabihf/
due to a bug
in the Debian cmake package.
Let's hack around that:
$ sudo mv /usr/local/lib/arm-linux-gnueabihf/* /usr/local/lib/
$ sudo rmdir /usr/local/lib/arm-linux-gnueabihf
$ sudo ldconfig
SDL2
Next let's get SDL2 going. What's wrong with the SDL that comes with the Raspberry Pi? Well it's version 1.2 and libgroove depends on version 2.
Find the URL for the source code of the latest SDL2 version on the SDL download page.
$ cd
$ wget https://www.libsdl.org/release/SDL2-2.0.3.tar.gz
$ tar xvf SDL2-2.0.3.tar.gz
$ cd SDL2-2.0.3/
SDL needs an audio backend to work, so we install that now, before the configure command:
$ sudo apt-get install libasound2-dev
We only need the audio features of SDL2 and in fact some of the video stuff can cause compilation problems. So we'll disable all the features we don't need when we configure.
$ ./configure --enable-audio --disable-video --disable-render --disable-events --disable-joystick --disable-haptic --disable-power --disable-file --disable-timers --disable-loadso --disable-cpuinfo
This could take a while, but when it's done you should see a line like this:
Audio drivers : disk dummy oss alsa(dynamic)
It's important that you have an audio driver other than disk, dummy, and oss.
$ make
Find something to do, this is going to take upwards of an hour to complete. Or if you want to slap your poor Raspberry Pi into submission, this would be the time to skip around in this guide and get libav compiling at the same time. But again, I'm going to pretend that you're doing this sequentially and let you deal with thinking about how to skip around the article.
So at this point that long compilation process succeeded and we're ready to install SDL2:
$ sudo make install
libav
Let's go back to your home folder (or wherever you decided to do this):
$ cd
Grab the URL to the latest libav 10 release from the libav downloads page.
$ wget http://www.libav.org/releases/libav-10.1.tar.gz
$ tar xvf libav-10.1.tar.gz
$ cd libav-10.1/
Let's get some prerequisites out of the way and then start configuring:
$ sudo apt-get install libmp3lame-dev libvorbis-dev
$ ./configure --enable-shared --enable-debug --disable-static --enable-gpl --enable-libmp3lame --enable-libvorbis
Again the Pi is going to have to work really hard to complete this configure command, especially if you're simultaneously compiling SDL2, so don't worry if it takes a minute or two.
$ make
This is going to take upwards of 8 hours. Seriously, I'd start this one and then go to bed. If you're trying to start all the compilations simultaneously, you might also want to start Node.js compiling as well.
After libav compilation succeeds:
$ sudo make install
Now we've finally finished installing libgroove's dependencies and we can finally move on to installing libgroove itself.
libgroove, Part 2
So at this point, you've waited a very long time and the Pi has successfully finished compiling libav and SDL2, and you have installed both of them. If this is not true, then you need to figure out why and fix it before progressing with this guide.
$ sudo ldconfig
$ cd ~/libgroove/build/
$ cmake .. -DCMAKE_BUILD_TYPE=Debug
Installation Summary
--------------------
* Install Directory            : /usr/local
* Build libgroove              : yes
* Build libgrooveplayer        : yes
* Build libgrooveloudness      : yes
* Build libgroovefingerprinter : yes

Bundled Dependencies
--------------------
* SDL2                         : using system library
* libav                        : using system libraries
* libebur128                   : using system library

System Dependencies
-------------------
* C99 Compiler                 : OK
* threads                      : OK
* SDL2                         : OK
* ebur128                      : OK
* chromaprint                  : OK
* libavformat                  : OK
* libavcodec                   : OK
* libavfilter                  : OK
* libavutil                    : OK
Ah that output looks much better than before.
$ make
This make should be relatively quick.
$ sudo make install
$ sudo ldconfig
At this point we have the necessary libraries installed:
$ ls /usr/local/lib/
libavcodec.so           libebur128.a                     libgroove.so.4
libavcodec.so.55        libebur128.so                    libgroove.so.4.1.0
libavcodec.so.55.34.1   libebur128.so.1                  libSDL2-2.0.so.0
libavdevice.so          libebur128.so.1.0.1              libSDL2-2.0.so.0.2.1
libavdevice.so.54       libgroove.a                      libSDL2.a
libavdevice.so.54.0.0   libgroovefingerprinter.a         libSDL2.la
libavfilter.so          libgroovefingerprinter.so        libSDL2main.a
libavfilter.so.4        libgroovefingerprinter.so.4      libSDL2.so
libavfilter.so.4.2.0    libgroovefingerprinter.so.4.1.0  libSDL2_test.a
libavformat.so          libgrooveloudness.a              libswscale.so
libavformat.so.55       libgrooveloudness.so             libswscale.so.2
libavformat.so.55.12.0  libgrooveloudness.so.4           libswscale.so.2.1.2
libavresample.so        libgrooveloudness.so.4.1.0       pkgconfig
libavresample.so.1      libgrooveplayer.a                python2.7
libavresample.so.1.1.0  libgrooveplayer.so               python3.2
libavutil.so            libgrooveplayer.so.4             site_ruby
libavutil.so.53         libgrooveplayer.so.4.1.0
libavutil.so.53.3.0     libgroove.so
Node.js
Now we need Node.js. Get the latest stable source code from the downloads page.
$ cd
$ wget http://nodejs.org/dist/v0.10.29/node-v0.10.29.tar.gz
$ tar xvf node-v0.10.29.tar.gz
$ cd node-v0.10.29/
$ ./configure
$ make
This compilation process will take several hours.
Once it's done:
$ sudo make install
Groove Basin
Now it is time to start Groove Basin, the music player server.
$ cd
$ git clone https://github.com/andrewrk/groovebasin
$ cd groovebasin/
$ npm run build
This step can take several minutes - it downloads and compiles Groove Basin dependencies.
Let's make the music directory if we don't already have one.
$ mkdir ~/music/
Copy all your music there at this point if you have any.
$ node lib/server.js
Now you should be up and running. If you want to change configuration options,
kill the server with Ctrl+C and edit config.js.
Enjoy! Feel free to follow
Groove Basin on GitHub,
file a bug report or feature request, or join #libgroove on irc.freenode.org to discuss or get help troubleshooting.
Pull requests are welcome, especially ones that make groovebasin.com look nicer.